Papaya

If you have even a little space in your balcony, terrace, or backyard, you should grow papayas. They are easy to grow and care for. And they yield abundant fruits that can be used to make curries, or eaten ripe.

I planted 2 papaya trees in my garden. One of them never yielded fruits even after it grew about 15 feet tall. That’s the tall one on the right in the picture below. So I chopped it down, since space is premium in my little garden.

My papaya trees

The one on the left grew so well and started yielding fruits soon enough.

Baby papayas

Did you know that there are male and female papaya trees; the male ones will not yield fruits. The flowers are distinctly different according to Google images. Male flowers are long, tubular, and branched. But in my papaya tree, the flowers weren’t that different. Yet, one yielded fruits whereas the other didn’t. Guess you just have to wait long enough to decide whether your tree is male or female!

But the one tree that gave fruits, gave so many. It was such a joy walking into the garden and seeing so many papayas growing well. Guess we got about 25-30 fruits in all, all of them looking much better than store-bought ones.

I only have one foot of soil depth in my terrace garden. So the tree became lanky and unhealthy after it grew really tall. Had to chop it down after it stopped producing fruits completely.

But now, I am a big believer in having papaya plants in my garden. Replaced the old one with a new plant as soon as I could. And now, the new one has started yielding papayas.

Go ahead, plant a papaya tree!

The Little house with a garden

It’s very common in my city, Bangalore to see tiny houses, made of hollow blocks, with no doors or windows, in large compounds. The land, of course, does not belong them the people living in these houses. They are merely caretakers to ensure that nobody trespasses or grabs the land. Yes, that happens as well, in Bangalore.

I came across a small house like that, but what was most surprising was the garden around the house. It was aglow with Balsam plants, red flowers all around it. I walked into the compound and asked the lady if I could take some pictures for my website. She promptly said ‘Yes’.

While taking pictures, she asked me if I wanted some seeds of the balsam plant. I was overjoyed and nodded with excitement. She plucked out a lot of seeds, pulled out some small saplings, put it into a small plastic bag and gave it me.

I told her “Thumba chenagide nimma garden (your garden is very beautiful). She said that there were many people queued up outside her house to collect the seeds just a couple of weeks back. Apparently, I was not the only one fascinated wit her garden.

She also had some spinach, green chilies, tomatoes, basil and chrysanthemums around her house. Which made me realize that you don’t need a lot of money to grow a beautiful garden; you just need a green thumb!

Now, I’ve planted the saplings and seeds in my garden. And they are flourishing, thanks to the generosity of the lovely lady in the little house.

Non-fussy Lantanas

I have never had a high regard for Lantanas since they grow wild and can be seen by the side of the road. We have a wall surrounding the garden, on top of which I wanted flowering plants. The gardener planted Lantanas there, white and purple. And they are a joy to the eye, flowering all through the year.

lantana purple3

lantana white3

And now I am adding to the collection with more colors…more happiness.

lantana red2lantana yellow

Few basic rules to growing lantanas

  1. Lantanas love sunlight. Plant them where they can enjoy lots of sunlight.
  2. They are quite hardy and can survive a couple of days without water.
  3. Prune them occasionally when you see the leaves blackening and fewer flowers
  4. Then can grow from stem cuttings, though I have to admit that it has not worked for me so far.
  5. Happy Lantana to you!

How to get rid of slugs

Below content contains scenes of graphic violence and gore. Reader discretion is advised🙂

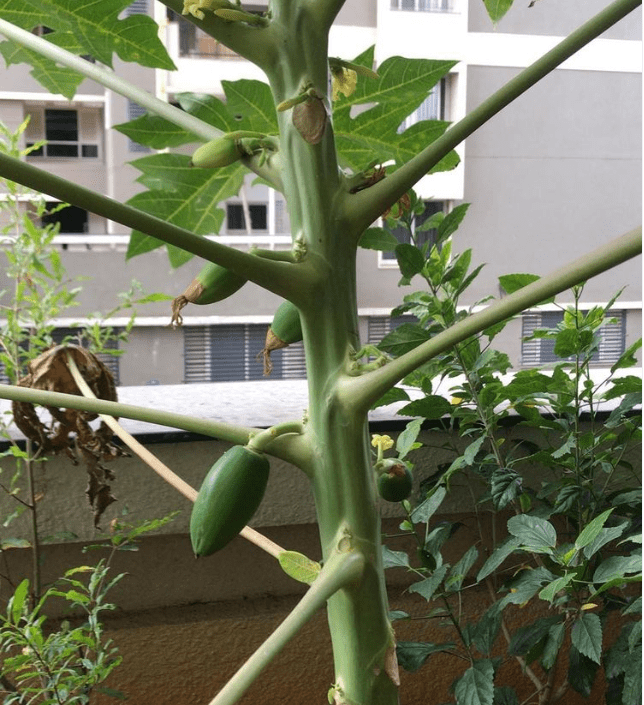
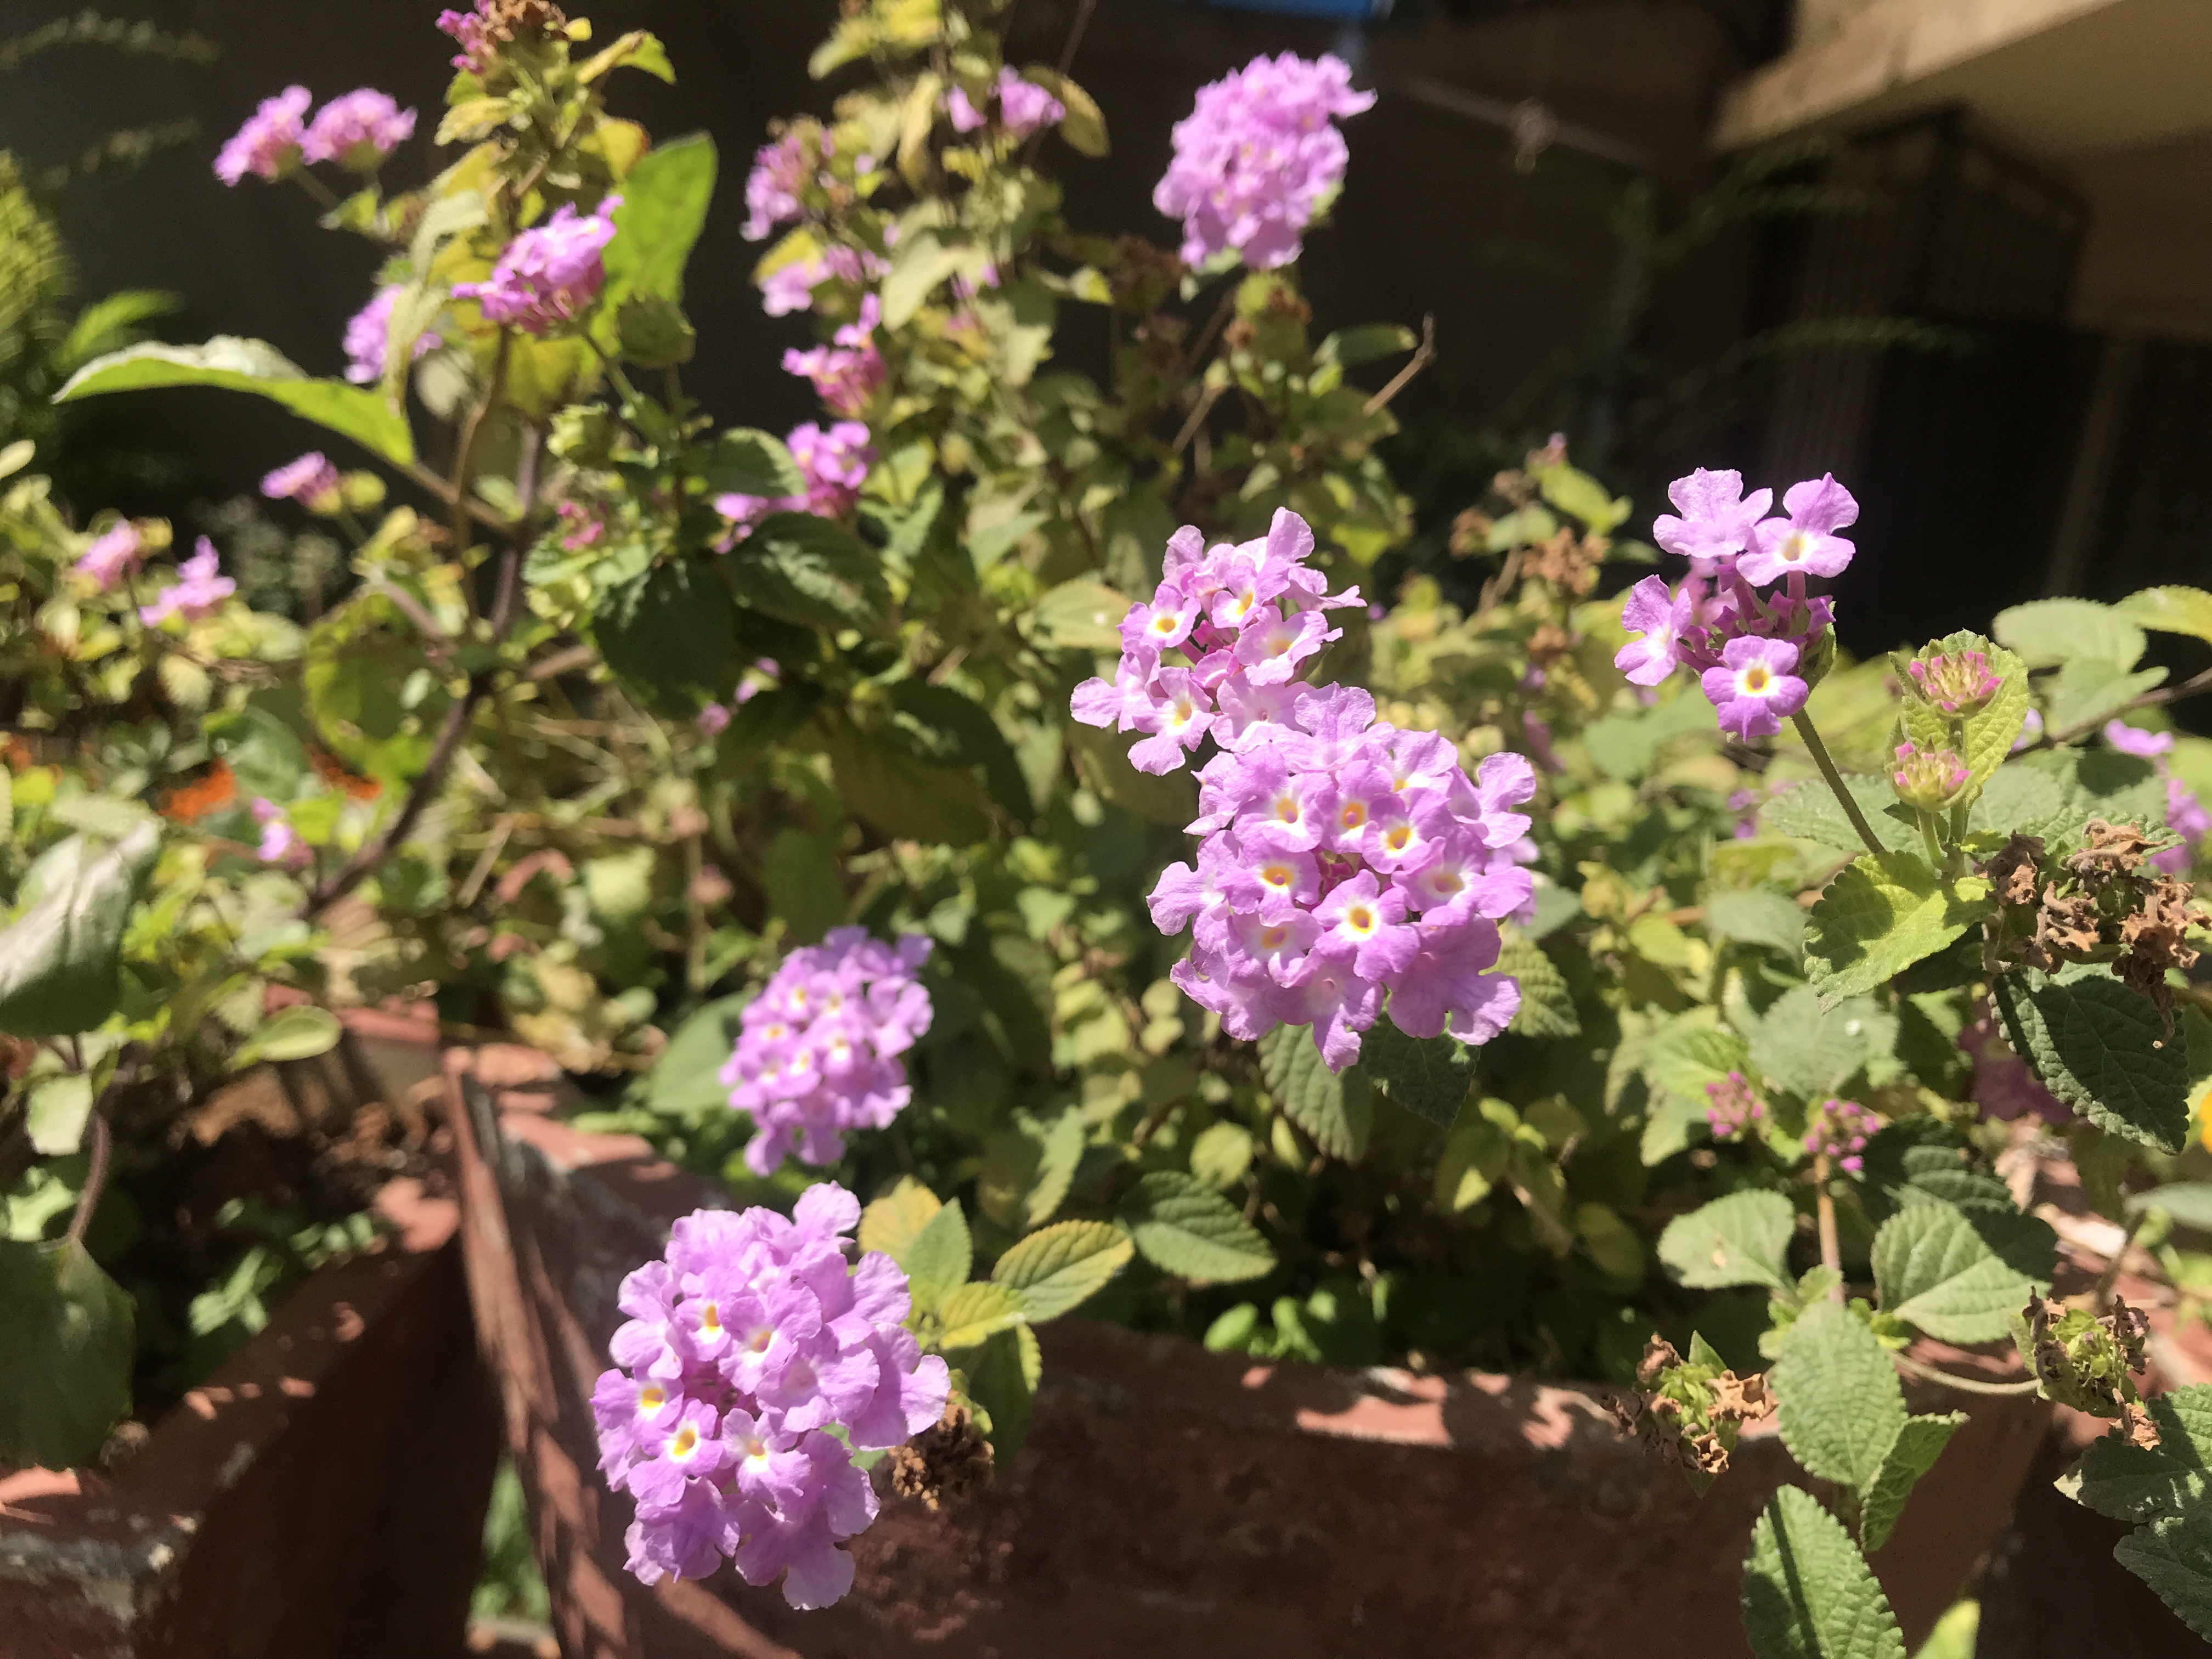
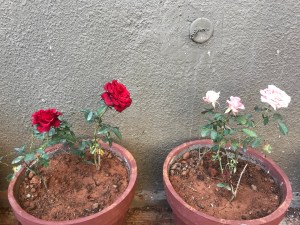
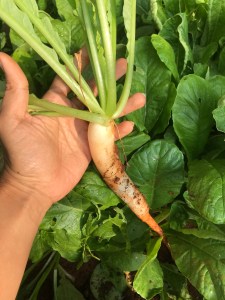
Due to the unique position of my garden, it does not get sun for 6 months in a year. The garden is open to the sky; but in between 2 apartments buildings. So for half the year, due to reasons I cannot explain (since I have no idea), the sun tilts in such a way that my garden is in forlorn, dreary shade. I know what is to be done during this time. Get more leafy plants and forget about the flowering plants. Unfortunately, I love flowering plants and cannot let go of them. For 6 months, these flowering plants hibernate, some stay completely still without growing, some wither, some die, very few thrive.

This time also coincides with the rainy season, resulting in a lot of slugs in my garden. I knew they were around. Whenever I dug the soil to plant something, I would see many of them. Then I started seeing extra-large slugs curled around strings of pearly white eggs. And whatever seed I planted was not sprouting.

So I researched in Google for ways to get rid of slugs. Beer trap was the most common solution. Pretty simple. Pour some beer into a glass, bury the glass 3/4th in the soil and wait for slugs to come to drink beer and drown in the glass. There was one problem. Beer is expensive, and I didn’t think the slugs were worth the money or the effort involved in sourcing beer.

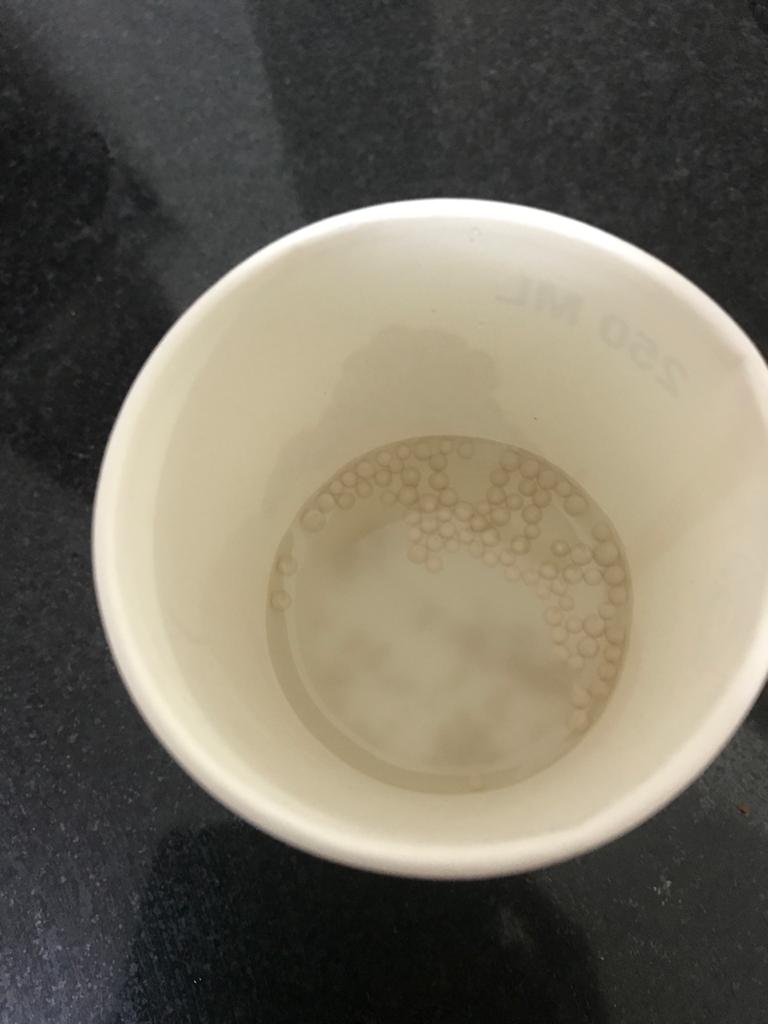
Next solution was easier, dissolve some yeast in warm water, pour it into a glass and bury the glass 3/4th in the soil with about half inch of the glass sticking out. I got into action.

The day I buried them in water, I went out at night with a torch to see if it was working. I saw 3-4 slugs in the process of reaching the yeast solution. But the most interesting thing was the number of slugs that were seen around in the garden at that time of the night. There was hundreds… no thousands of them in plain sight. 2 glasses of yeast solution was not going to suffice. I started taking them with my trowel and cutting them into two. It’s a very gory job and not for the faint-hearted. Slugs are full of green goo, which oozes out when you cut them.

Cut slugs don’t regenerate like earthworms. So this is an effective method, though not a clean method. I realized that chopping up close to a thousand slugs was not going to work. I would be having slug nightmares for months to come.

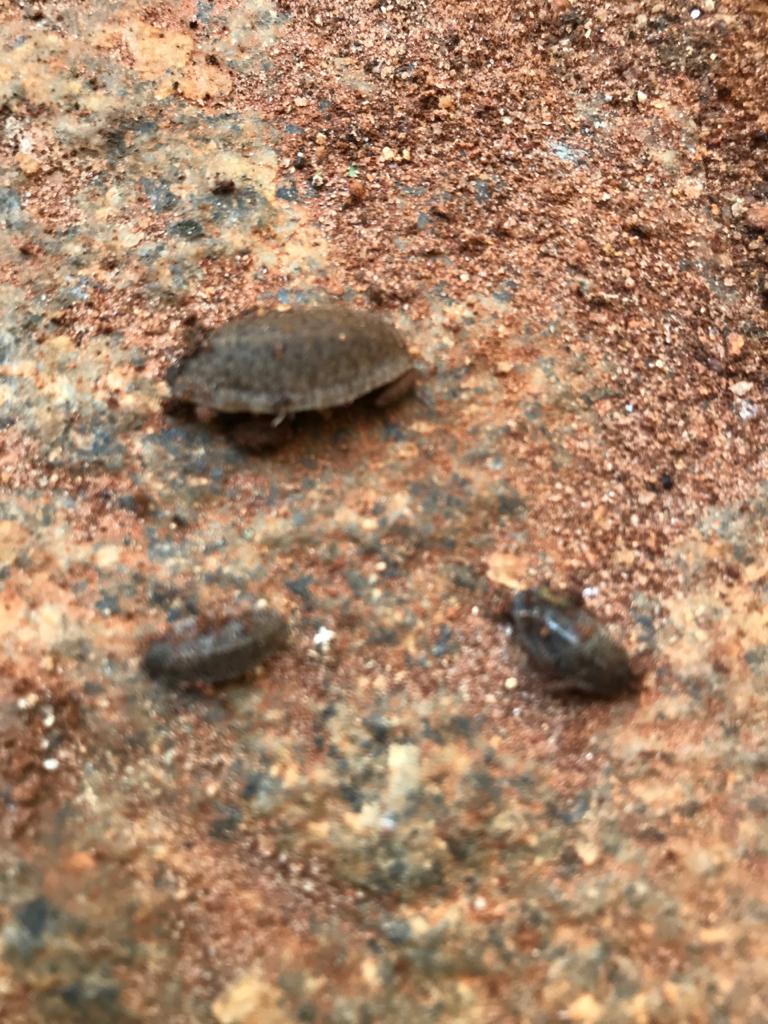
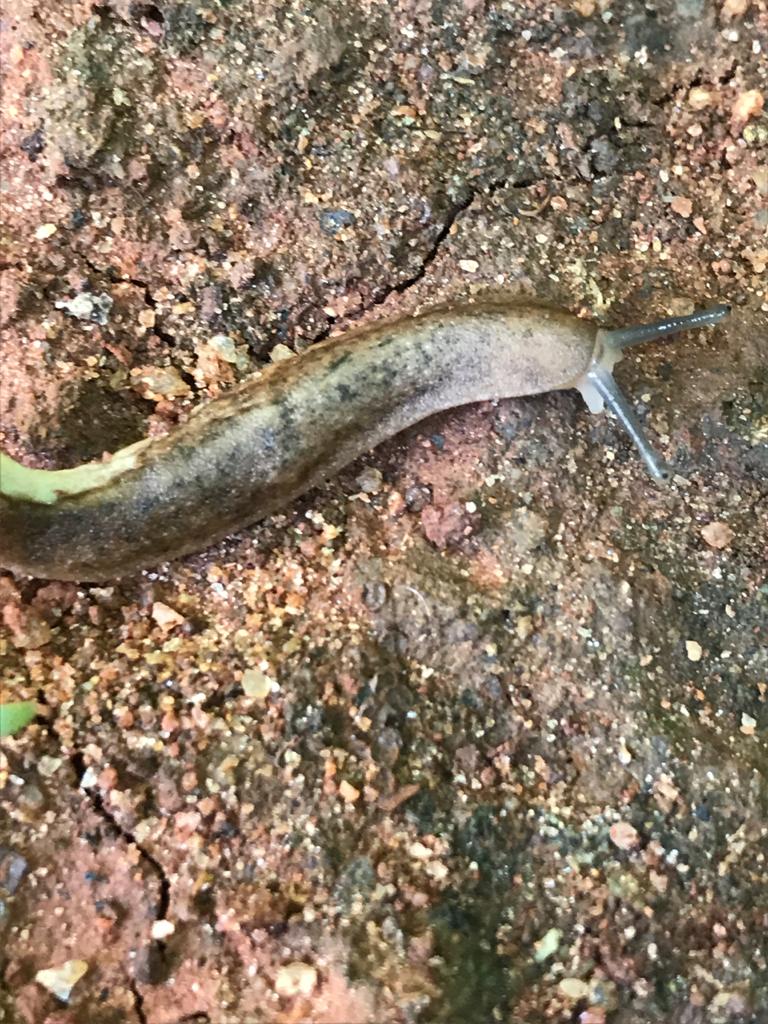
So I searched for more solutions. By the way, the slugs in my garden are plain ugly. No houses on their back, no pretty markings, nothing!

If you think that looks ugly, you might want to see close up pictures.

Now that you’ve been properly introduced to my slugs, let me proceed. The next idea I had was to put some salt on them. For those ignorant of this process, salt kills slugs almost immediately through osmosis, drawing out water from their bodies and dehydrating them.

I started going out with a packet of salt and a torch, and marinating slugs. They die almost immediately and without the afore mentioned gore.

Too much salt is not good for the soil, I know. But too many slugs are also not good. They came down from thousands to hundreds to a mere handful each day. I’ve been doing this for a week and my garden is reasonably slug-free.

After using the salt method for some time, I started worrying about the soil in my garden. So now, I have switched to picking the slugs with a tweezer and drowning them in soap water. I know that this will only work for small gardens where you can pick them up individually.

For large gardens, there are other methods like sprinkling ash in the soil, or using diatomaceous earth.

So here are the list of things you can do to get rid of slugs:

  1. Give them beer, and a joyful death. Add some beer to a glass, bury it in soil with an inch of the glass sticking out.
  2. Yeast solution also works the same way.
  3. Go out with a torch at night. Pick them up and kill them brutally. The joy you get out of it depends on how mad you are with them.
  4. Go out with a torch at night. Marinate them with salt. Don’t do this for too long as it might spoil your soil.
  5. Go out with a torch at night. Pick up the slugs and put them into a soap and water solution to drown them.
  6. For large gardens use ash or diatomaceous earth.
  7. Make sure you water the plants in the morning, giving the soil enough time to dry out before night.

There you go. 5 effective ways to deal with a slug infestation.

Potatoes

Once I asked my son what I should plant in a certain patch of the garden. And he said, “Potatoes!”. I guess that’s the vegetable most children love, in the form of potato chips, and mash. And one fine day, I found a few potatoes in the kitchen which had started sprouting.

So I called Nikhil over, we cut up the potatoes and planted them, the sprouts facing upwards. I had never seen potato plants earlier. Guess what! They grew so well.

Potato plant

Potato plant

I read in Google that you harvest potatoes 2-3 weeks after the plants flower. Mine never flowered. They just dried up and withered. Couple of weeks after they withered, I harvested the potatoes. Well, ‘harvest’ is an ambitious word. Basically, the kids and I just dug around and picked up the tiny ‘lemon-sized’ potatoes that we found. They were so small, beautiful and shiny. We all loved the part when you remove the top layer of soil and find many pearly cream potatoes stacked one next to the other. I’m sorry we didn’t get a picture of that.

Baby potatoes

Baby Potaoes

That was a success. We made wedges, mash and a curry:)

Tomatoes

Tomatoes grow well in most conditions. I buy goat dung from people. And tomatoes usually grow automatically in some pot or the other, thanks to the good food that the goat owners gave them!

I’ve got decent tomato crops whether in the balcony or in the terrace garden.


And then, once a friend told me that raw tomato curry is really yummy. Saute some onions and green chillies, add some masalas the chopped raw tomatoes. Garnish with grated coconuts and voila!

But the problem is, I didn’t like it so much. Too tangy!

So next time, I am waiting for my tomatoes to ripen before plucking them. And the red ones look much prettier than the green ones.

Roses

This is a blog post very very close to my heart. I have always loved roses from the very first time I set up a garden. All my balconies over the years had roses in different colors and sizes.

So one of my conditions while setting up the new garden was that there should be many many rose plants. The gardener was true to his word and planted roses all around the edges. I was elated.


There were tiny plants with 4 leaves and 2 flowers. I reveled in their beauty for a couple of months. But then the plants started getting weaker. Could have been lack of sunlight. Could have been lack of nourishment. I have heard that plants in nurseries are steeped in hormones and what not. So by the time we get them, they are not sturdy or mature – made to bloom in their infancy.

My disappointment grew over time, when most of the roses died under my watchful eyes. I’ve recently started burying banana peels near the roots. Banana peels are rich in phosphorus, which is very essential to plant growth. And I think it has helped. They’ve started blooming again, in ones and twos. One of them was so pretty, that I had to post it in Instagram! Ain’t she pretty?!!

I’m elated, thrilled, fascinated by these beautiful perfect flowers. Love you roses!

Cabbage

The gardener who set up my garden initially told me that he was planting cabbages and cauliflowers. Both plants looked the same, and I wasn’t experienced enough to question him.

The plants grew very well until they started having tiny cabbages. Then the pests discovered them, and there was no stopping the multiple worms and bugs that ate up all the lovely leaves. All my neem oil+detergent spraying had very little effect since the leaves are so closely packed. Got a decent crop of about 10 cabbages, each one the size of a large orange. It was enough for one yummy dish!

And that’s the cabbage farming story:)

Rarrots or Cadishes – Carrots or Radishes

And so it happened that one day, I went to GKVK Agricultural university in Bangalore in search of seeds and fertilizers. And I bought carrot seeds from there. Tiny red glossy seeds that looked pretty, like carrots. I made a small bed ready and planted them. They sprouted pretty quick and looked good.

Radish plant sprouting

They grew and grew rapidly. I saw the leaves and wondered why they didn’t look like carrot leaves.

After fighting the normal worms and other pest problems, they finally bore fruit. And guess what they were. My carrots turned out to be radishes.

I got a very good crop. But the point is, I don’t like radishes. I made radish soup, which was yuck! Radish chips which was bleh! And radish curry, which was barely edible. Distributed the rest to few near and dear ones, who were willing to bail me out during my time of despair!

And so I retire from radish gardening, with this unique story of how my carrots turned out to be radishes!!

Coriander aka Cilantro

I had unexpected success with coriander in my garden. The first time I got some seeds, I planted them with too much caution. Planted only 1 seed per hole, and watched them like a hawk. Nothing happened. Nada!

The next time, I got angry with the seeds. Cleared up and dug up a patch in the garden. Took a handful of seeds and threw them on the ground. Many, many seeds per square centimeter. And then I sprinkled some cocopeat on top, half-heartedly. Some of the seeds were covered, some were not.

And surprisingly, that patch looked so pretty. I actually saw jealousy on the faces of seasoned gardeners because of my coriander patch. See how pretty it looks.

.

I distributed some, used most and did not have to buy coriander leaves for over 5 months. Slowly, I watched them flowering and producing tiny coriander seeds. I got mixed advice that pruning will help, plucking out leaves will help them grow back etc. But nothing helped.

They became scrawny and lifeless until I finally plucked them all out today!